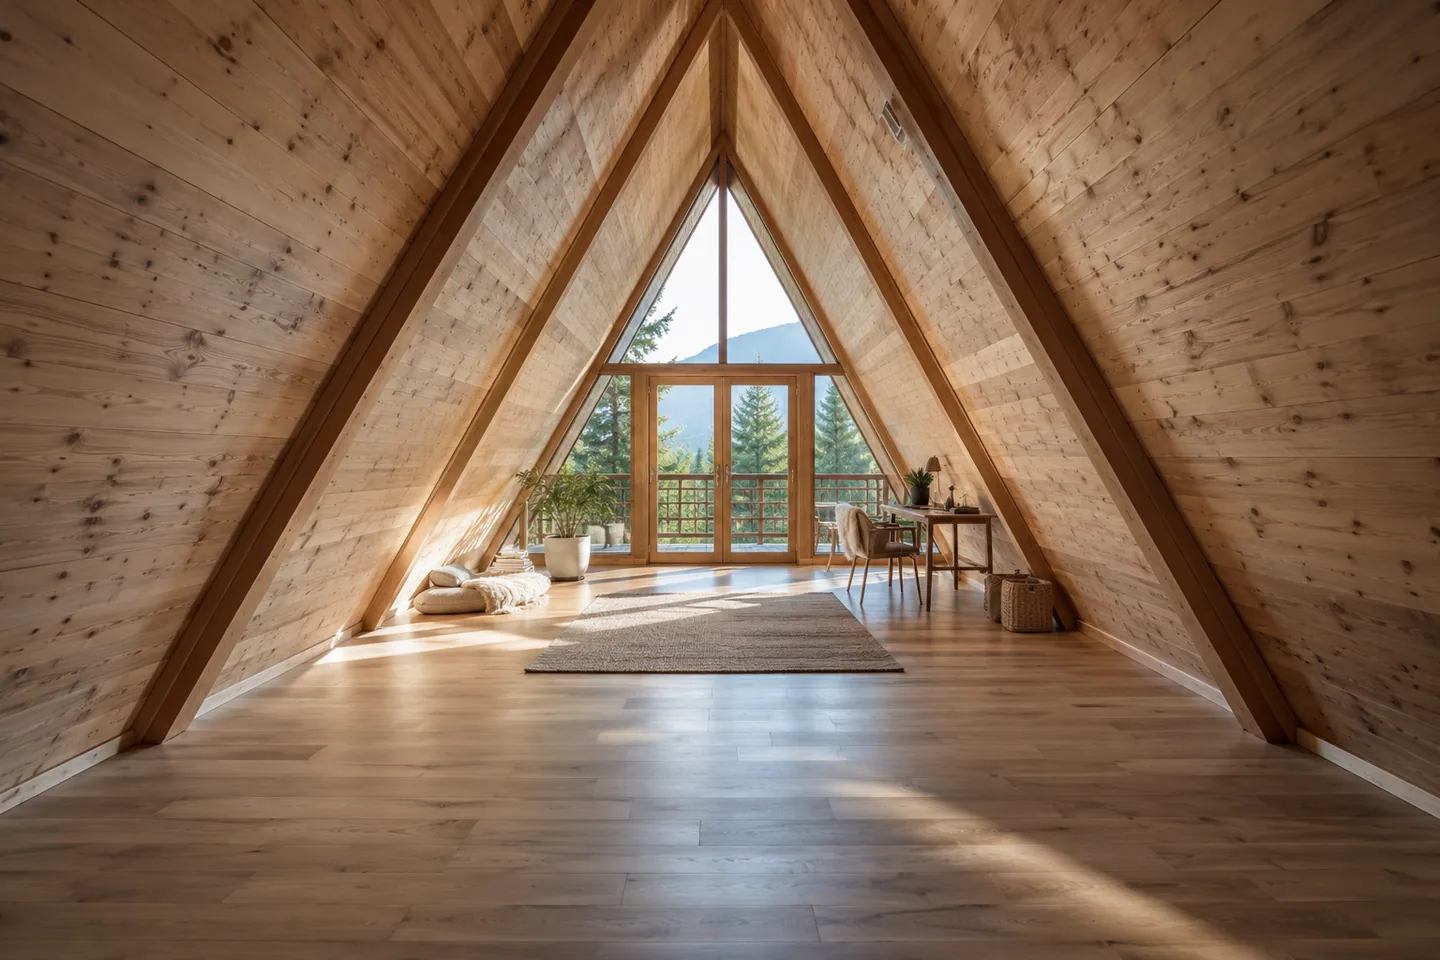
AI-generated cabin concept, used for illustration.
In this guide
An A-frame has several useful area measurements. The footprint tells you the floor’s size. The area above a chosen headroom tells you where standing activities fit. The low edges can still work for storage, but they should not be counted as unrestricted walking space.
Measure inside the finished surfaces
A manufacturer's exterior width is not necessarily the clear width you will have inside. Structure, insulation and linings take up space. For a planning exercise, use internal dimensions from the finished floor to the finished sloping surfaces.
You need the internal width, length and peak height. If the sloping roof starts above a short vertical wall, also measure that knee wall. Then choose a headroom for the activity you are testing. This is a practical threshold for the exercise, not a statement about your local code.
A worked geometry example
Consider a hypothetical symmetrical triangle with a 6 m internal width, 8 m length and 5.2 m peak height. There are no knee walls, partitions or stairs in this example.
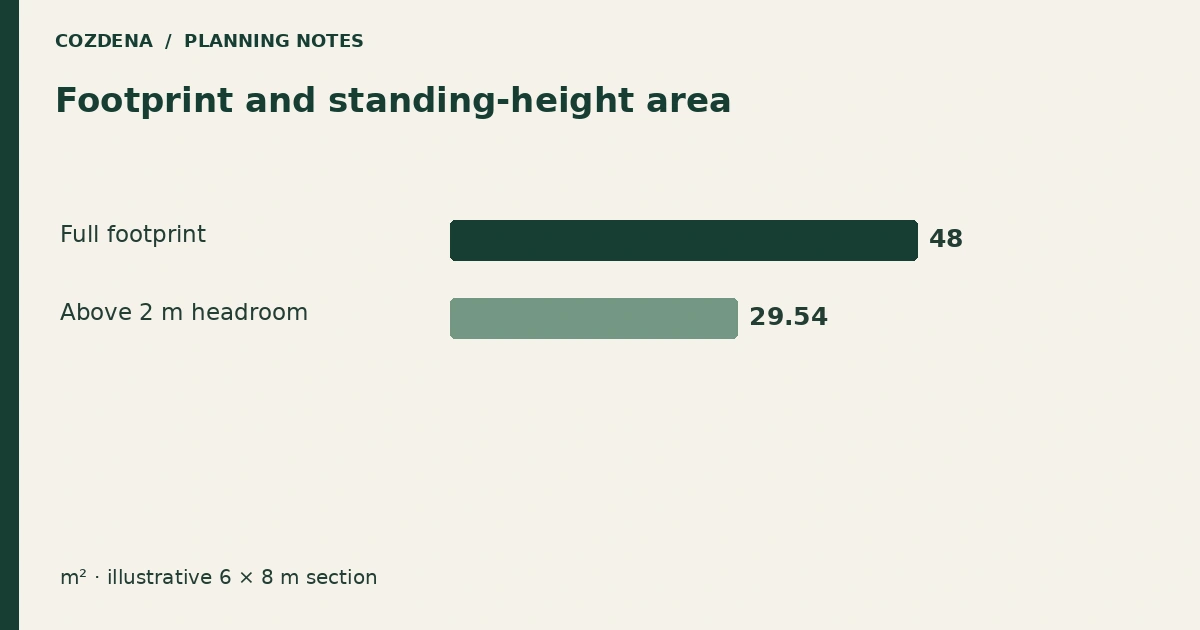
The full footprint is 6 × 8 = 48 m². To find the width at 2 m above the floor, use similar triangles:
Clear width = 6 × (5.2 − 2) ÷ 5.2 = 3.69 m.
Multiplying by the 8 m length gives approximately 29.54 m² above 2 m of headroom. The difference is low floor area, not missing floor. It may accommodate low cabinets, seating or parts of a bed, depending on the arrangement.
You can reproduce these figures in the usable space calculator. Its formula is shown on the page so you can see exactly what is being measured.
A loft needs its own headroom check
Raising the floor moves it into a narrower part of the triangle. If a loft starts at 2.4 m in the example above, the clear roof width at loft-floor level is about 3.23 m. At 2 m above that loft floor, the available width is only about 0.92 m.
That is why a loft can look generous on a floor plan while offering a narrow standing zone. Place the bed, route to it and point where you get out in the section as well as the plan.
Turn the area calculation into an activity map
Draw the same headroom boundary on the furnished floor plan. Label each strip by the activity it supports: standing circulation, seated use or reachable storage. This keeps a useful low edge from being dismissed while avoiding the opposite mistake of calling every square metre unrestricted living space.
| Zone | Test with the actual plan |
|---|---|
| Central standing band | Can doors, stairs and kitchen use coexist? |
| Seated-use band | Can you sit down and stand up without meeting the slope? |
| Low edge | Can stored items be reached and removed? |
Keep the geometry model and real room dimensions side by side. In the example above, the calculated 29.54 m² is continuous only before you account for obstructions. A stair opening or utility enclosure changes how that area can be used, even when the roof shape stays identical.
Compare a raised knee wall before increasing the whole footprint. Then run a circulation overlay with furniture in use. The final decision should explain which everyday problem the extra area solves, not merely present a larger number.
Match the height to the activity
Use the tall centre for routes, kitchen work and other standing tasks. Test low furniture against its actual dimensions. A cupboard that fits when closed may need more room for an opening lid, a drawer or a person reaching inside.
The calculator deliberately leaves out structure, partitions and openings. After the geometry exercise, return to the real drawings and subtract those constraints. Our small-layout walkthrough turns the numbers into a room-planning exercise; a local professional must establish any official habitable-area measurement.