Planning diagram. Examples and assumptions are explained below.
In this guide
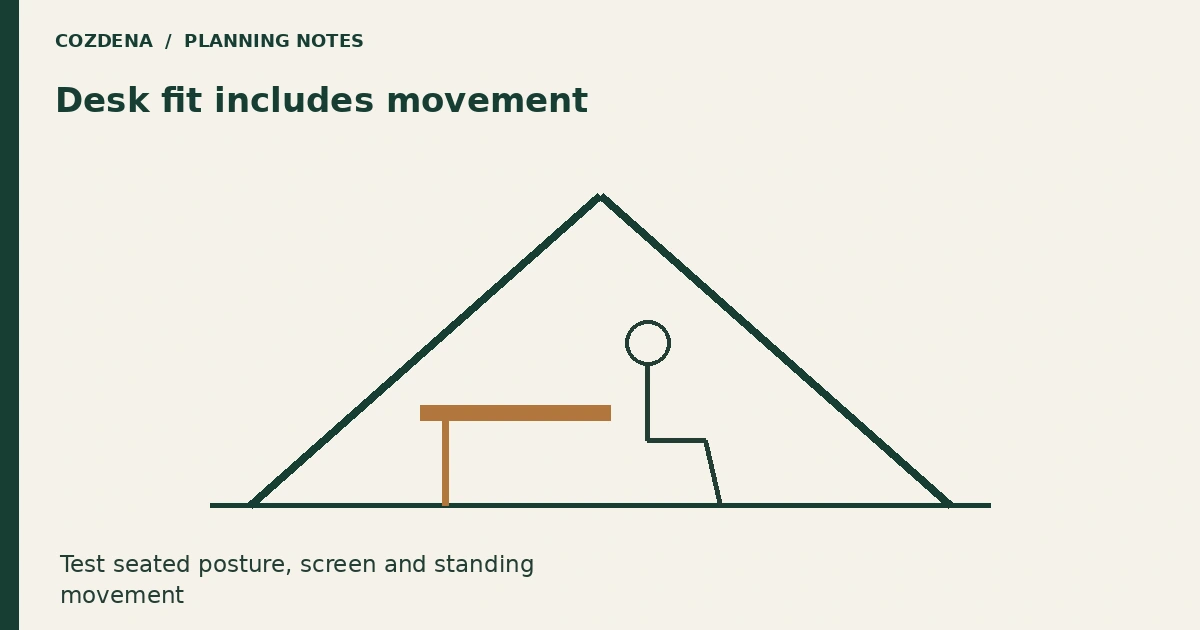
Draw the desk, chair and person in section before placing a workstation against an A-frame slope. Fitting the desktop is only the first check; your head and chair move beyond it.
Start with the chair position
Measure the actual desk depth and the seated position you prefer. Add the monitor stand and any arm that moves the screen away from the wall. Then mark where your head is when you lean forward, sit upright and rise from the chair.
A desk can slide into a low area while the chair remains in a comfortable central strip. The compromise is that the back of the desk may become hard to reach. Plan how cables, plugs and dust will be managed there.
Build a temporary mock-up
Use a table and taped floor positions before commissioning built-in furniture. A strip of cardboard can represent the roof line without modifying the room. Test the tallest regular user's normal movements; do not rely on a stock silhouette drawn at an unknown scale.
| Movement | Check |
|---|---|
| Seated work | Head and monitor clear the slope |
| Standing up | Forward movement does not meet the roof |
| Chair pushed back | Circulation behind remains usable |
| Screen adjustment | Arm and display avoid the lining |
Review light from the working position
Sit where the chair will be and look at the window reflection in a dark screen. Window direction, blinds and desk rotation may matter more than the desk colour. Check power and data routes before a built-in panel hides the sockets.
Avoid turning the entire low strip into an oversized fixed desktop simply because the floor exists. A shorter desk with reachable storage can make the room easier to use.
Compare the result with the home-office layout guide and privacy and glare guide. The usable-space calculator helps explore the roof geometry; your mock-up checks the actual workstation.